
Anneli Round 2: Slightly hacked

making pattern hacks in a onesie in a quiet house is the life
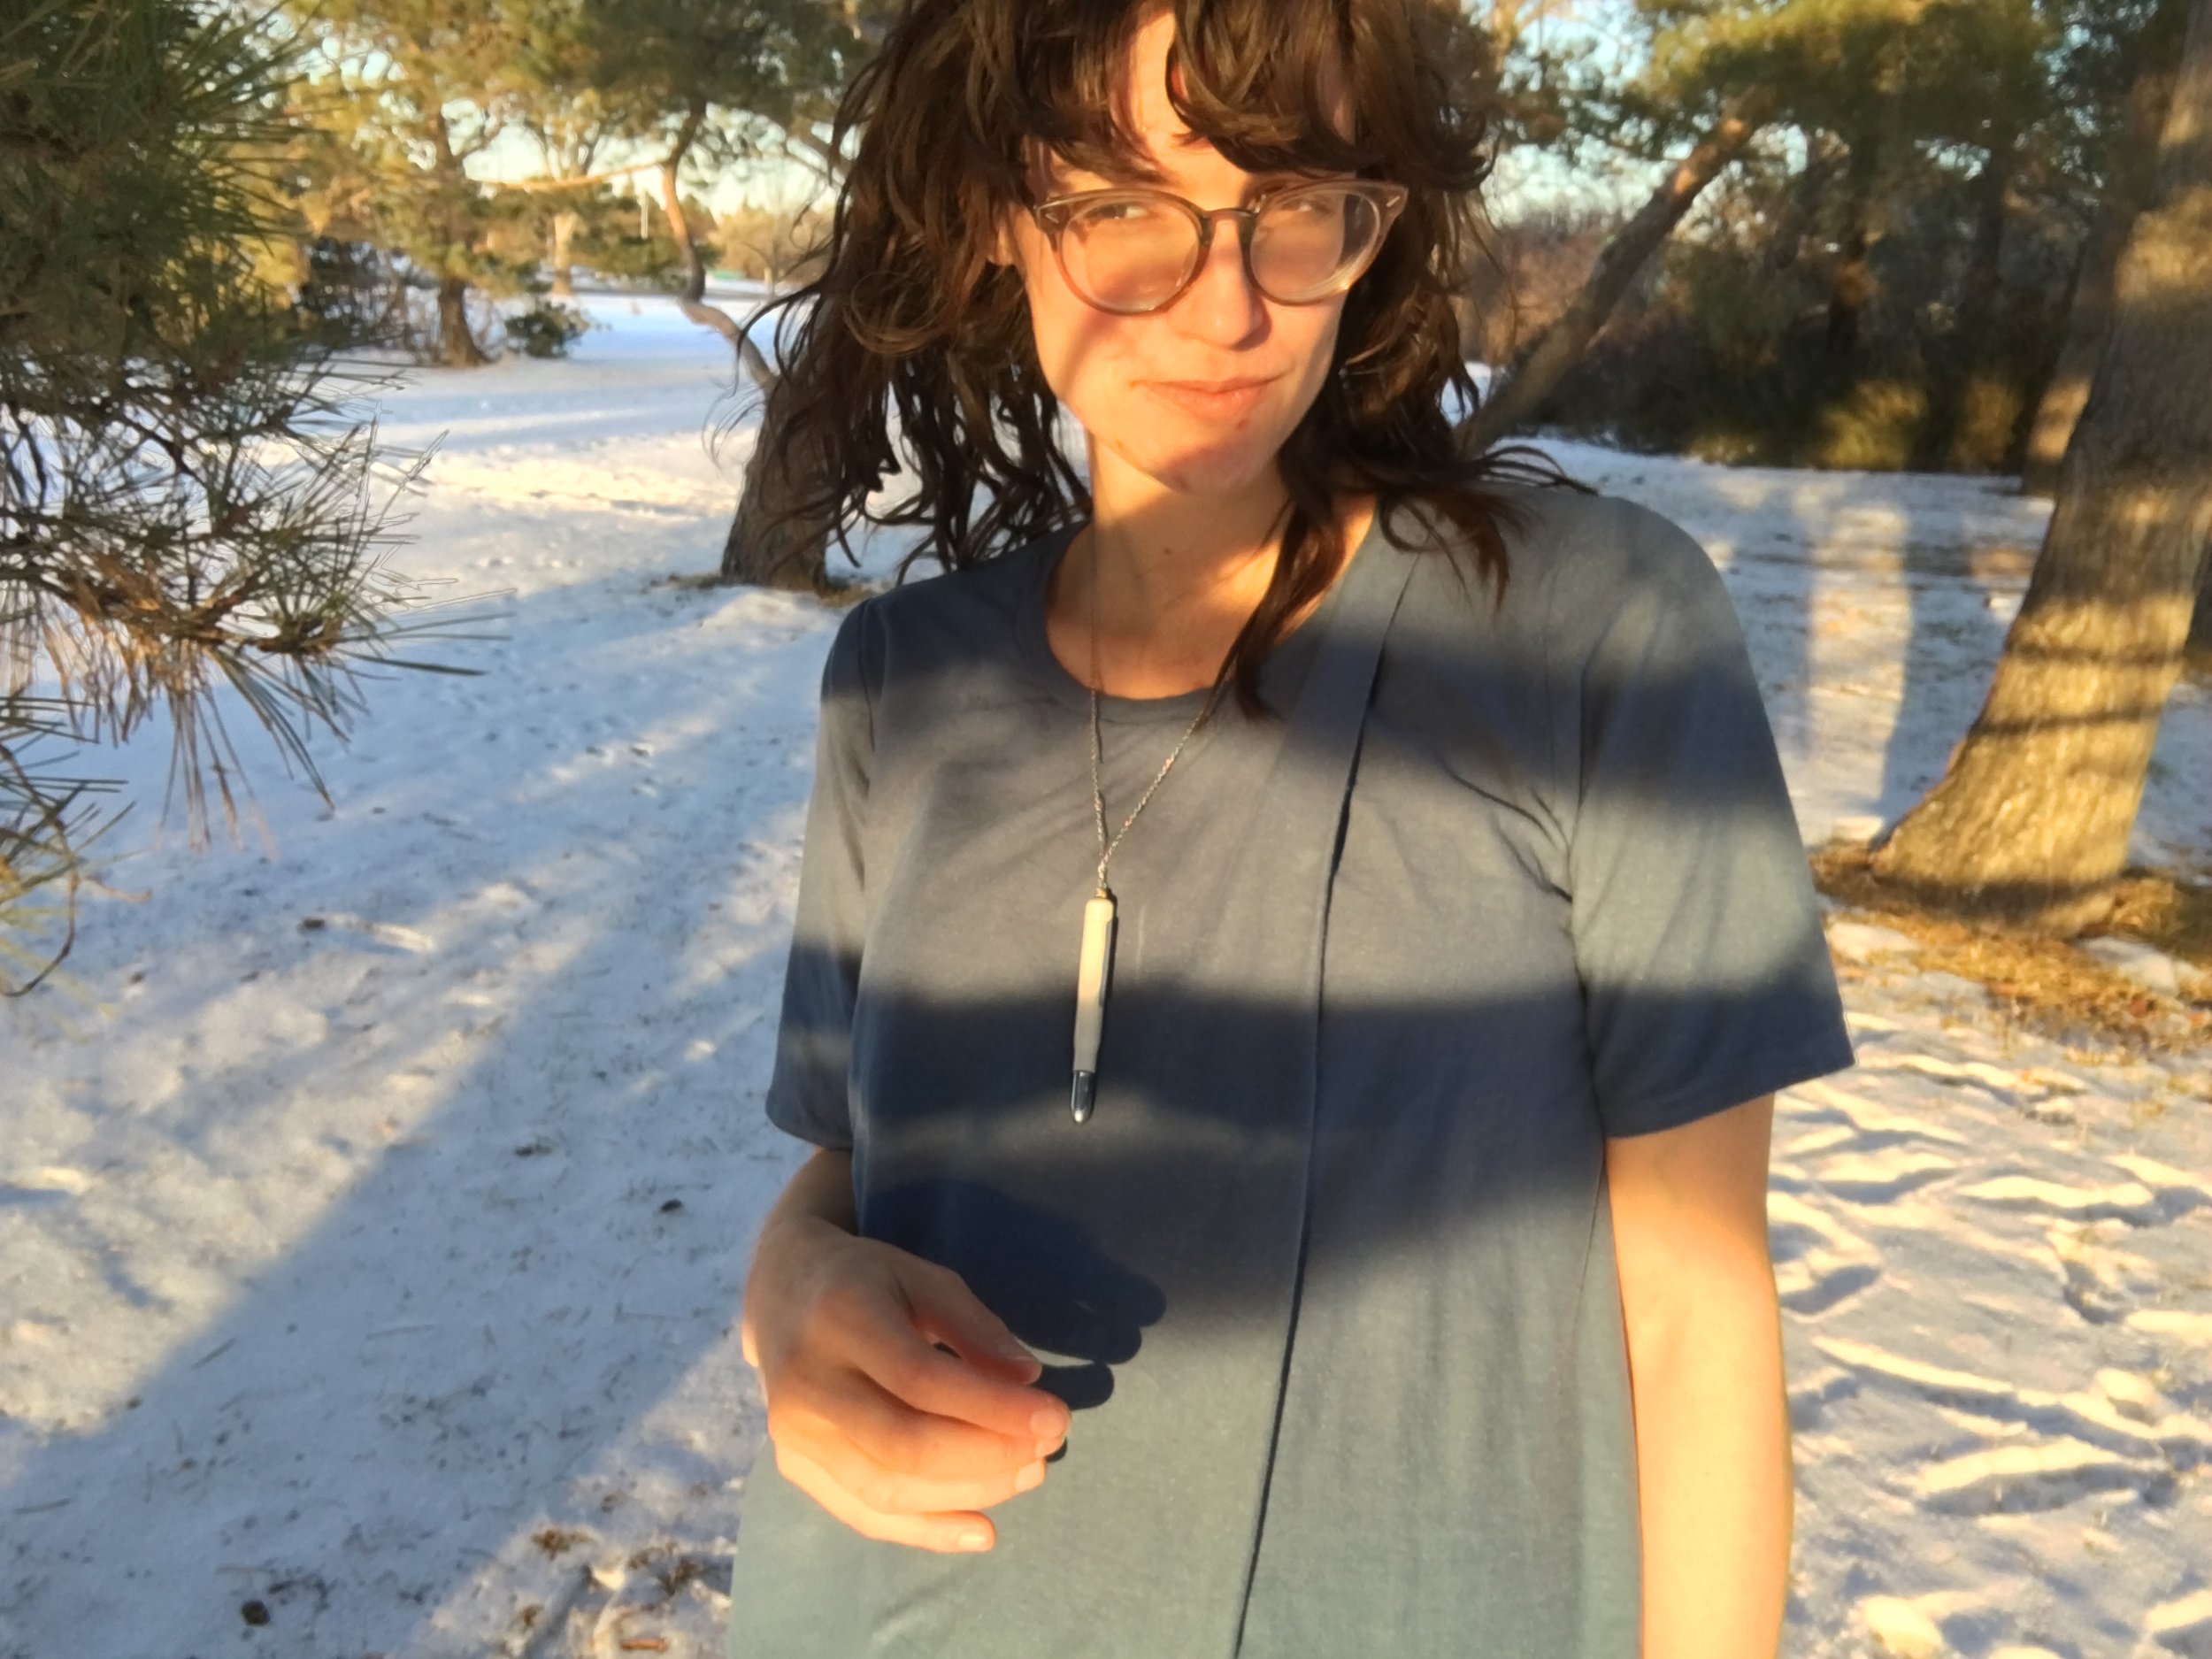
While I was pretty happy with my first Anneli double-front tee, I had from the get-go envisioned altering it to mimic Boob Designs’ pleated-front shirts. They hide the nursing access in a pleat in the front, with a slit, meaning more belly coverage than the standard Anneli provides. Plus, Anneli looks a lot like my favourite iteration of this, the Li top.
So! I took the Anneli pattern and added on enough length to create a pleat to both sides, with a seam at centre. This wasn’t quite the right solution, which I’ll get to later, and if I had plans for a Round 3, would be an easy fix.
I also added about 2 inches at centre front, curving to nothing at the side seams. I also didn’t quite get this right, but not in a problematic way. See, I forgot to fold my pleat back as I traced the new hemline, and so have ended up with a pleat that gets shorter where it should get longer. But of course, it’s more or less totally hidden by the front of the shirt anyway! I actually wish I’d added another inch, because I really like the length unhemmed, and have left it as such. But I’d rather have it hemmed!

Assembly was straightforward: the new panels required a few different steps.
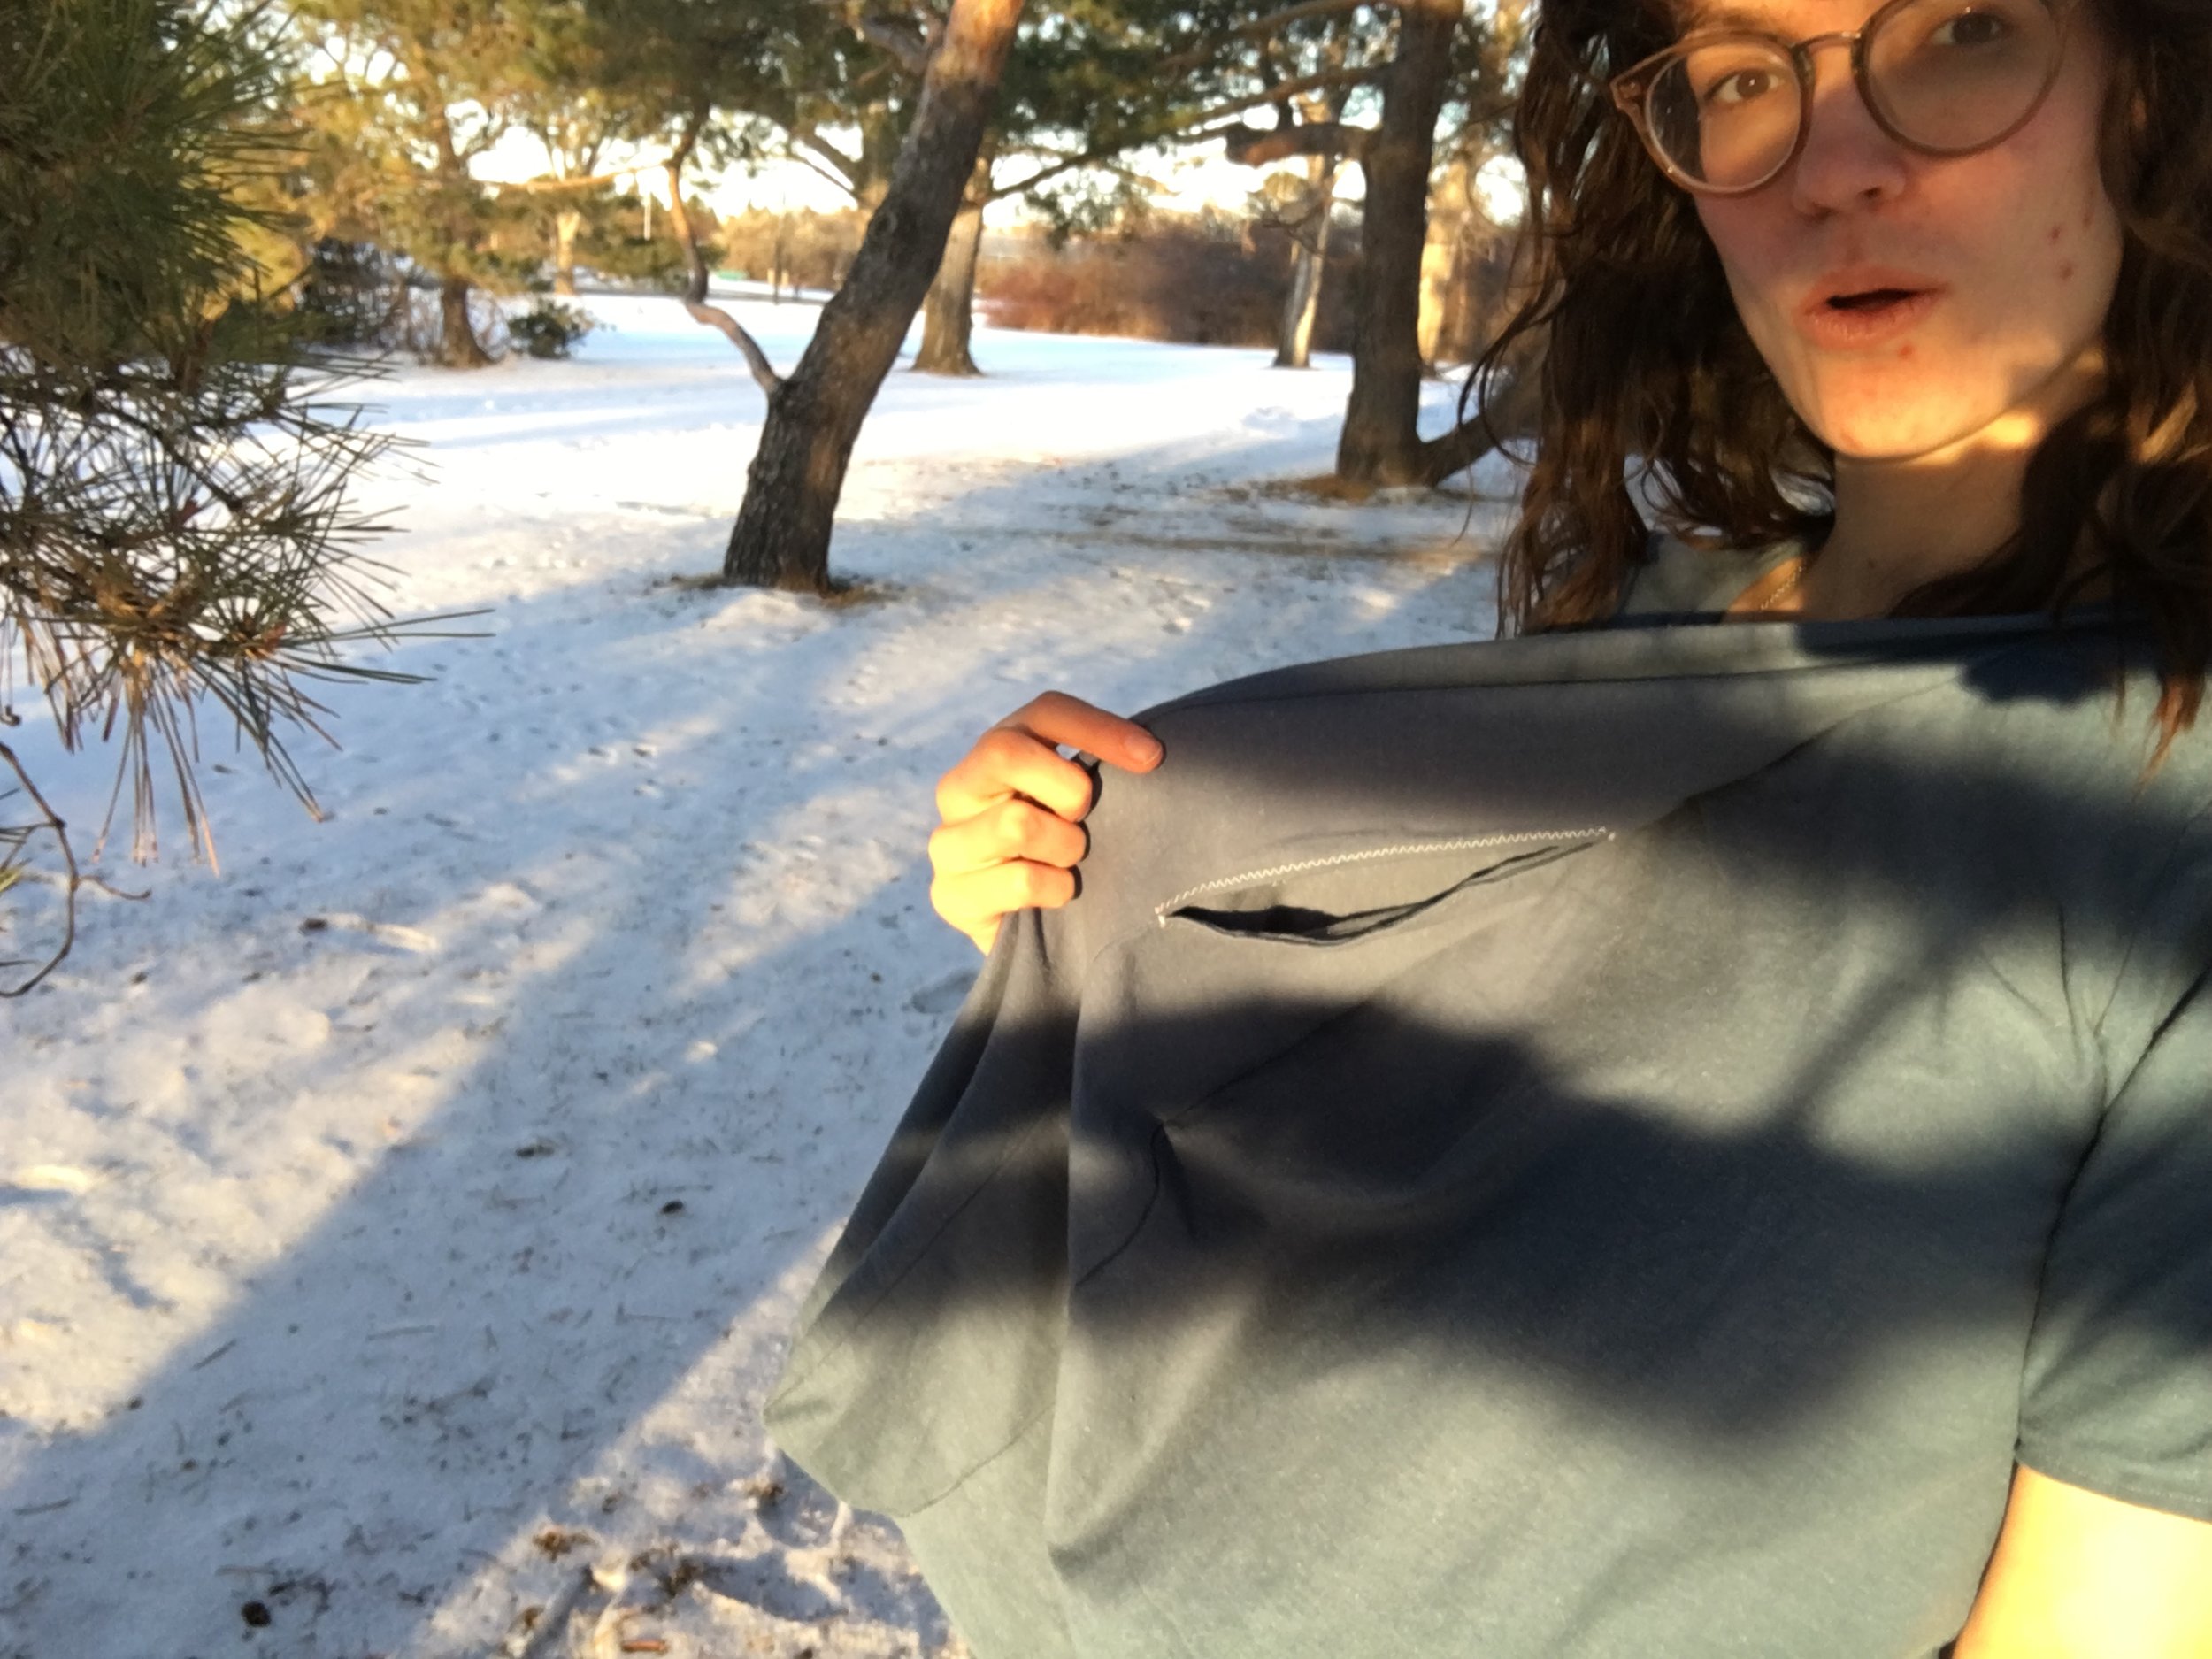
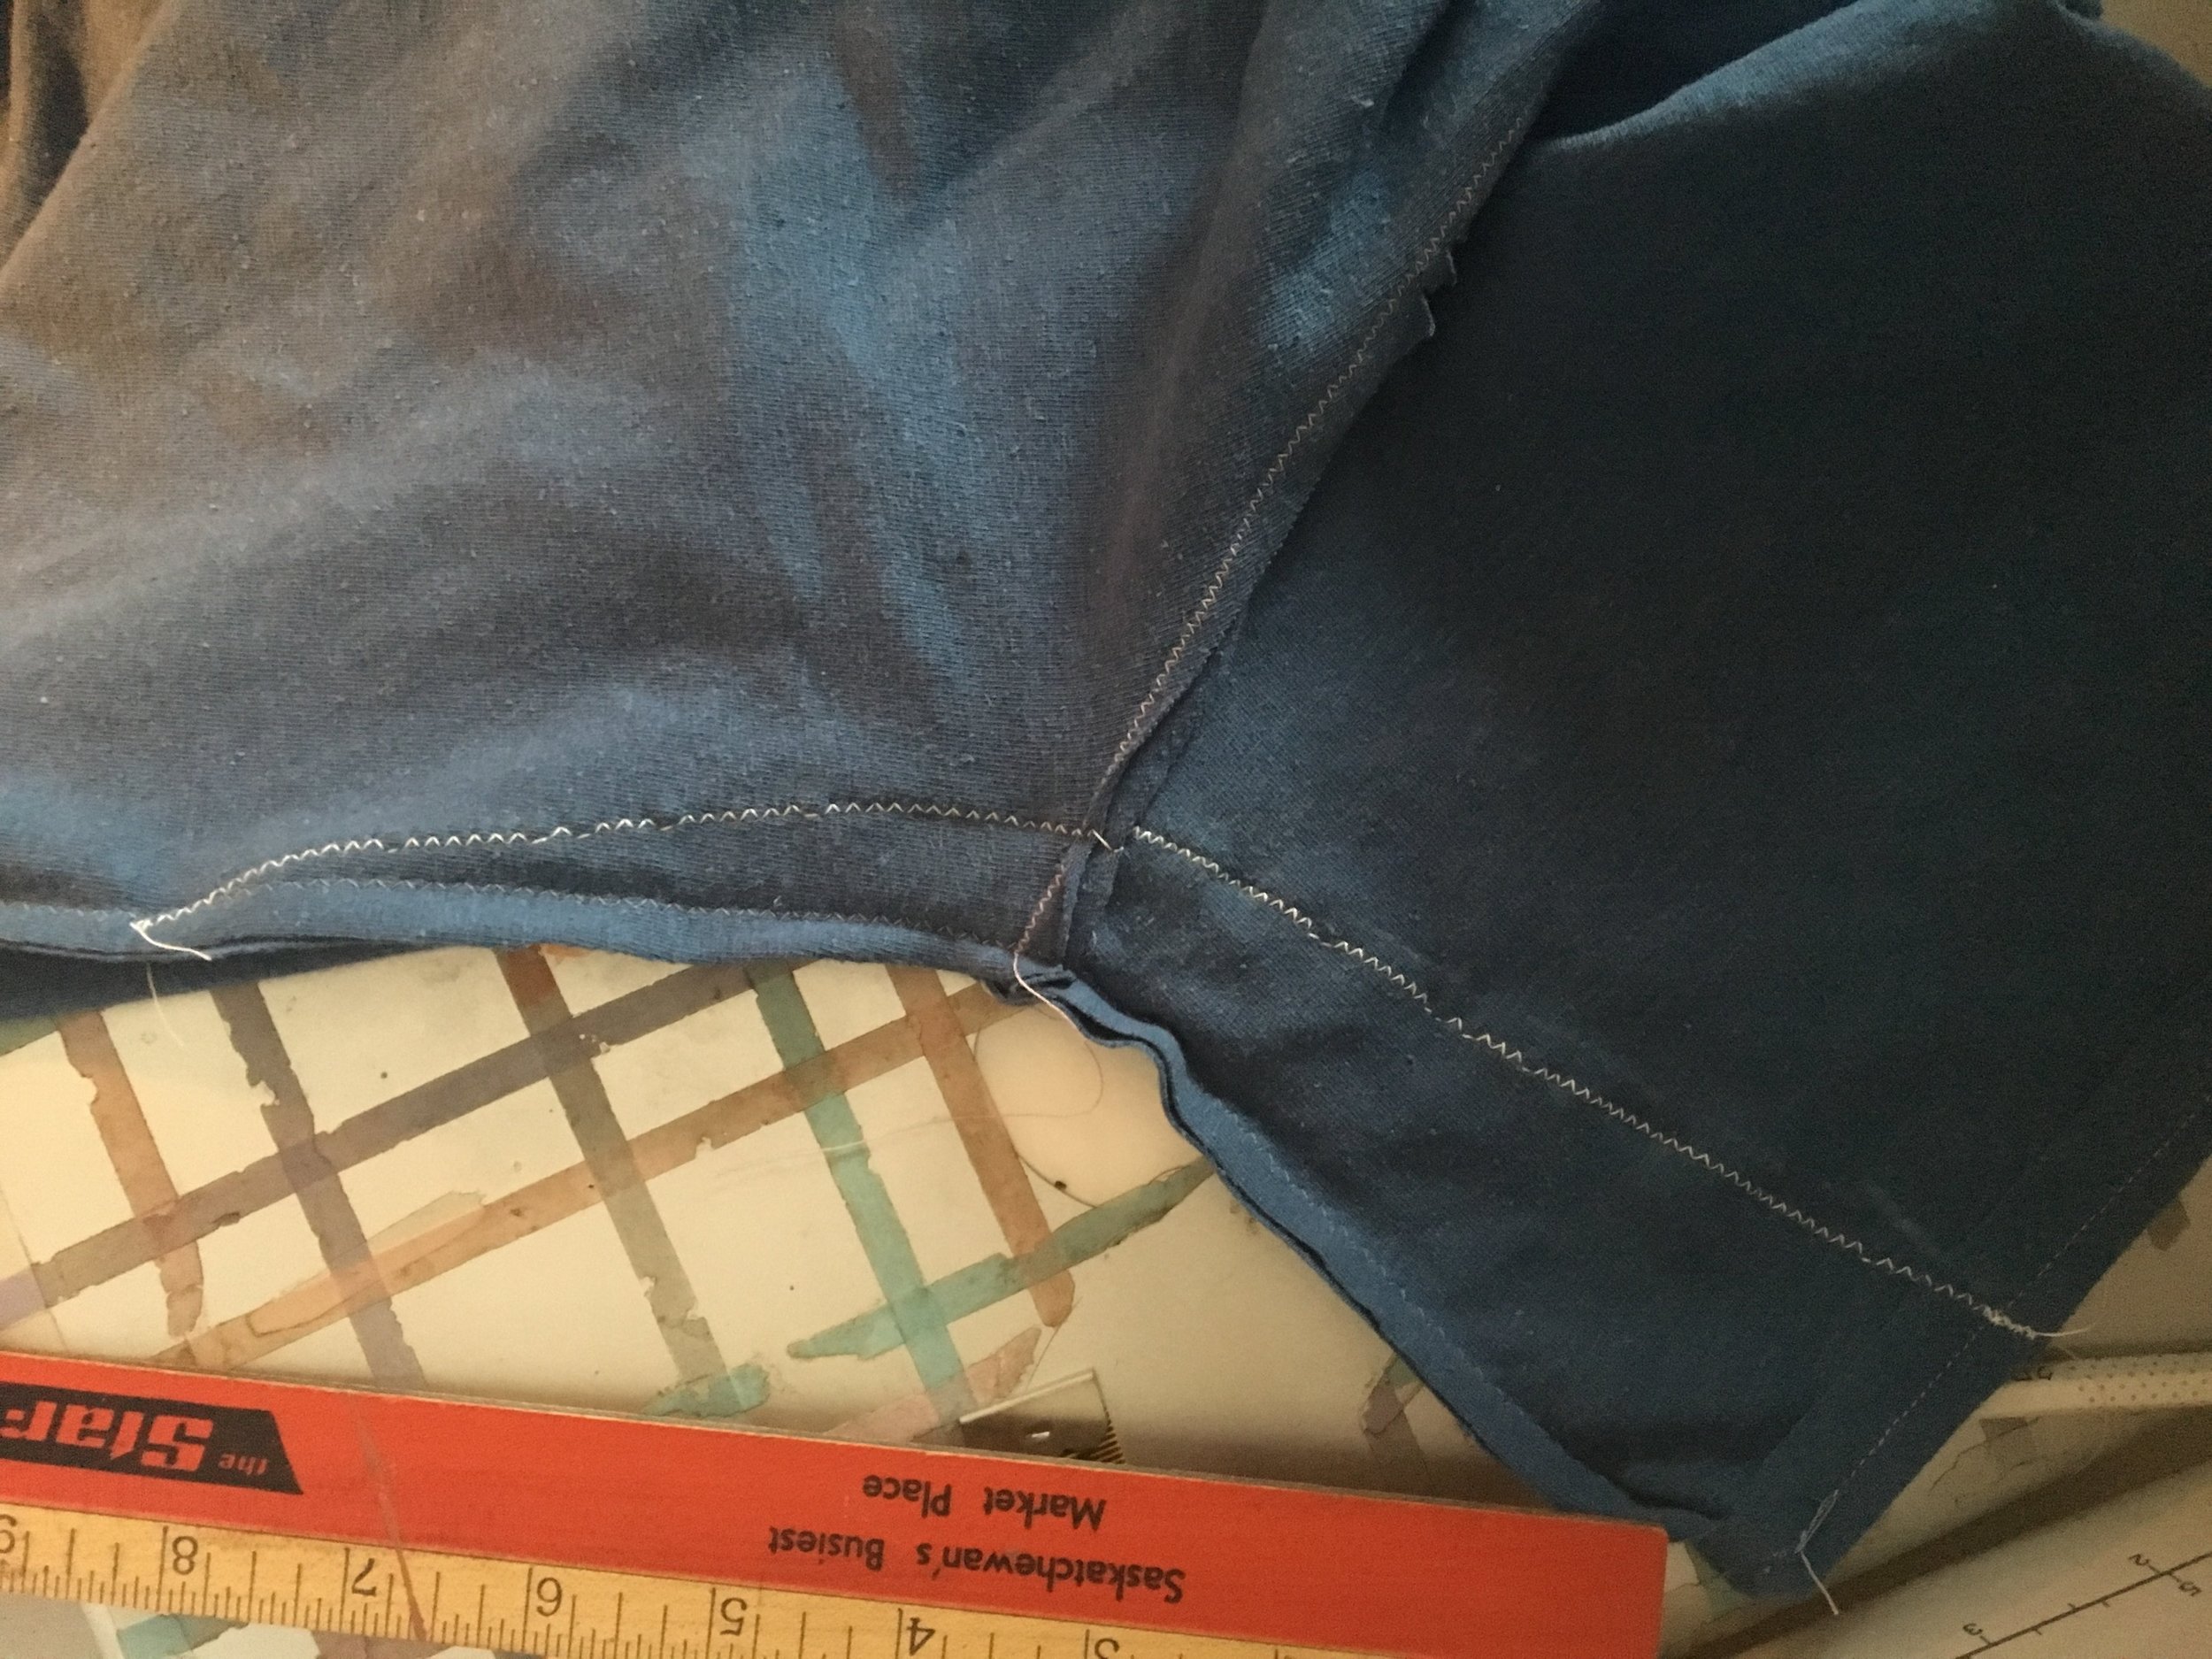
I marked with chalk where I would want my opening, stitched to that point with a straight stitch, backstitched and continued with a longer basting stitch until the end, backstitched and went back to a standard straight stitch. I pressed this open, used a large zig-zag stitch to tack back the seam allowance at the slit, and a bar tack at top and bottom. I figure the slit itself will get much more stretching than the rest of the front, so foregoing the zig-zag up the seam shouldn’t be much of an issue.


Next, I folded this resulting large panel, matching the front neckline. For the hidden fold, I ironed and stitched the fold in place almost to the bottom, but left two inches of space for the hem I never ended up doing. This is a lot of fairly thick fabric, so a lot of bulk to manage.


Once this was done, I could go back to treating the whole thing as a regular shirt front and sew. Except, well, I didn’t realize until after I’d sewn on the neckband and one sleeve that I was using a 5/8 rather than the 3/8 seam allowance called for. Of course for my hacks this was fine, as I drafted them with 5/8, but losing a full half inch from the shoulders was no good. Plus I wondered why my neckband ended up so much pull-ier than last time, since I was using the same fabric (in a different colourway). I didn’t resew the neck band as I had already trimmed and graded the seam allowance to deal with all that folded fabric bulk, but I resewed the shoulder and learned my lesson for the last little bits.
I really like the additional coverage this hack is providing, and that I don’t have to be frustrated by the turning edge my first Anneli had on the front panel. But I did make a mistake!

I shouldn’t have made the two front panels symmetrical — that puts the nursing access in between the front and back panels, a layer of fabric away from my body instead of next to my skin. This could easily be remedied by making two different pattern pieces for the front, and moving the attachment point to centre front of the "behind” panel. I don’t see myself needing three of those shirts, so that’s too bad. That said, the slit should work just fine where it is, thought it’s a touch less convenient where it is. At least I’m guaranteed zero accidental slit-showing!
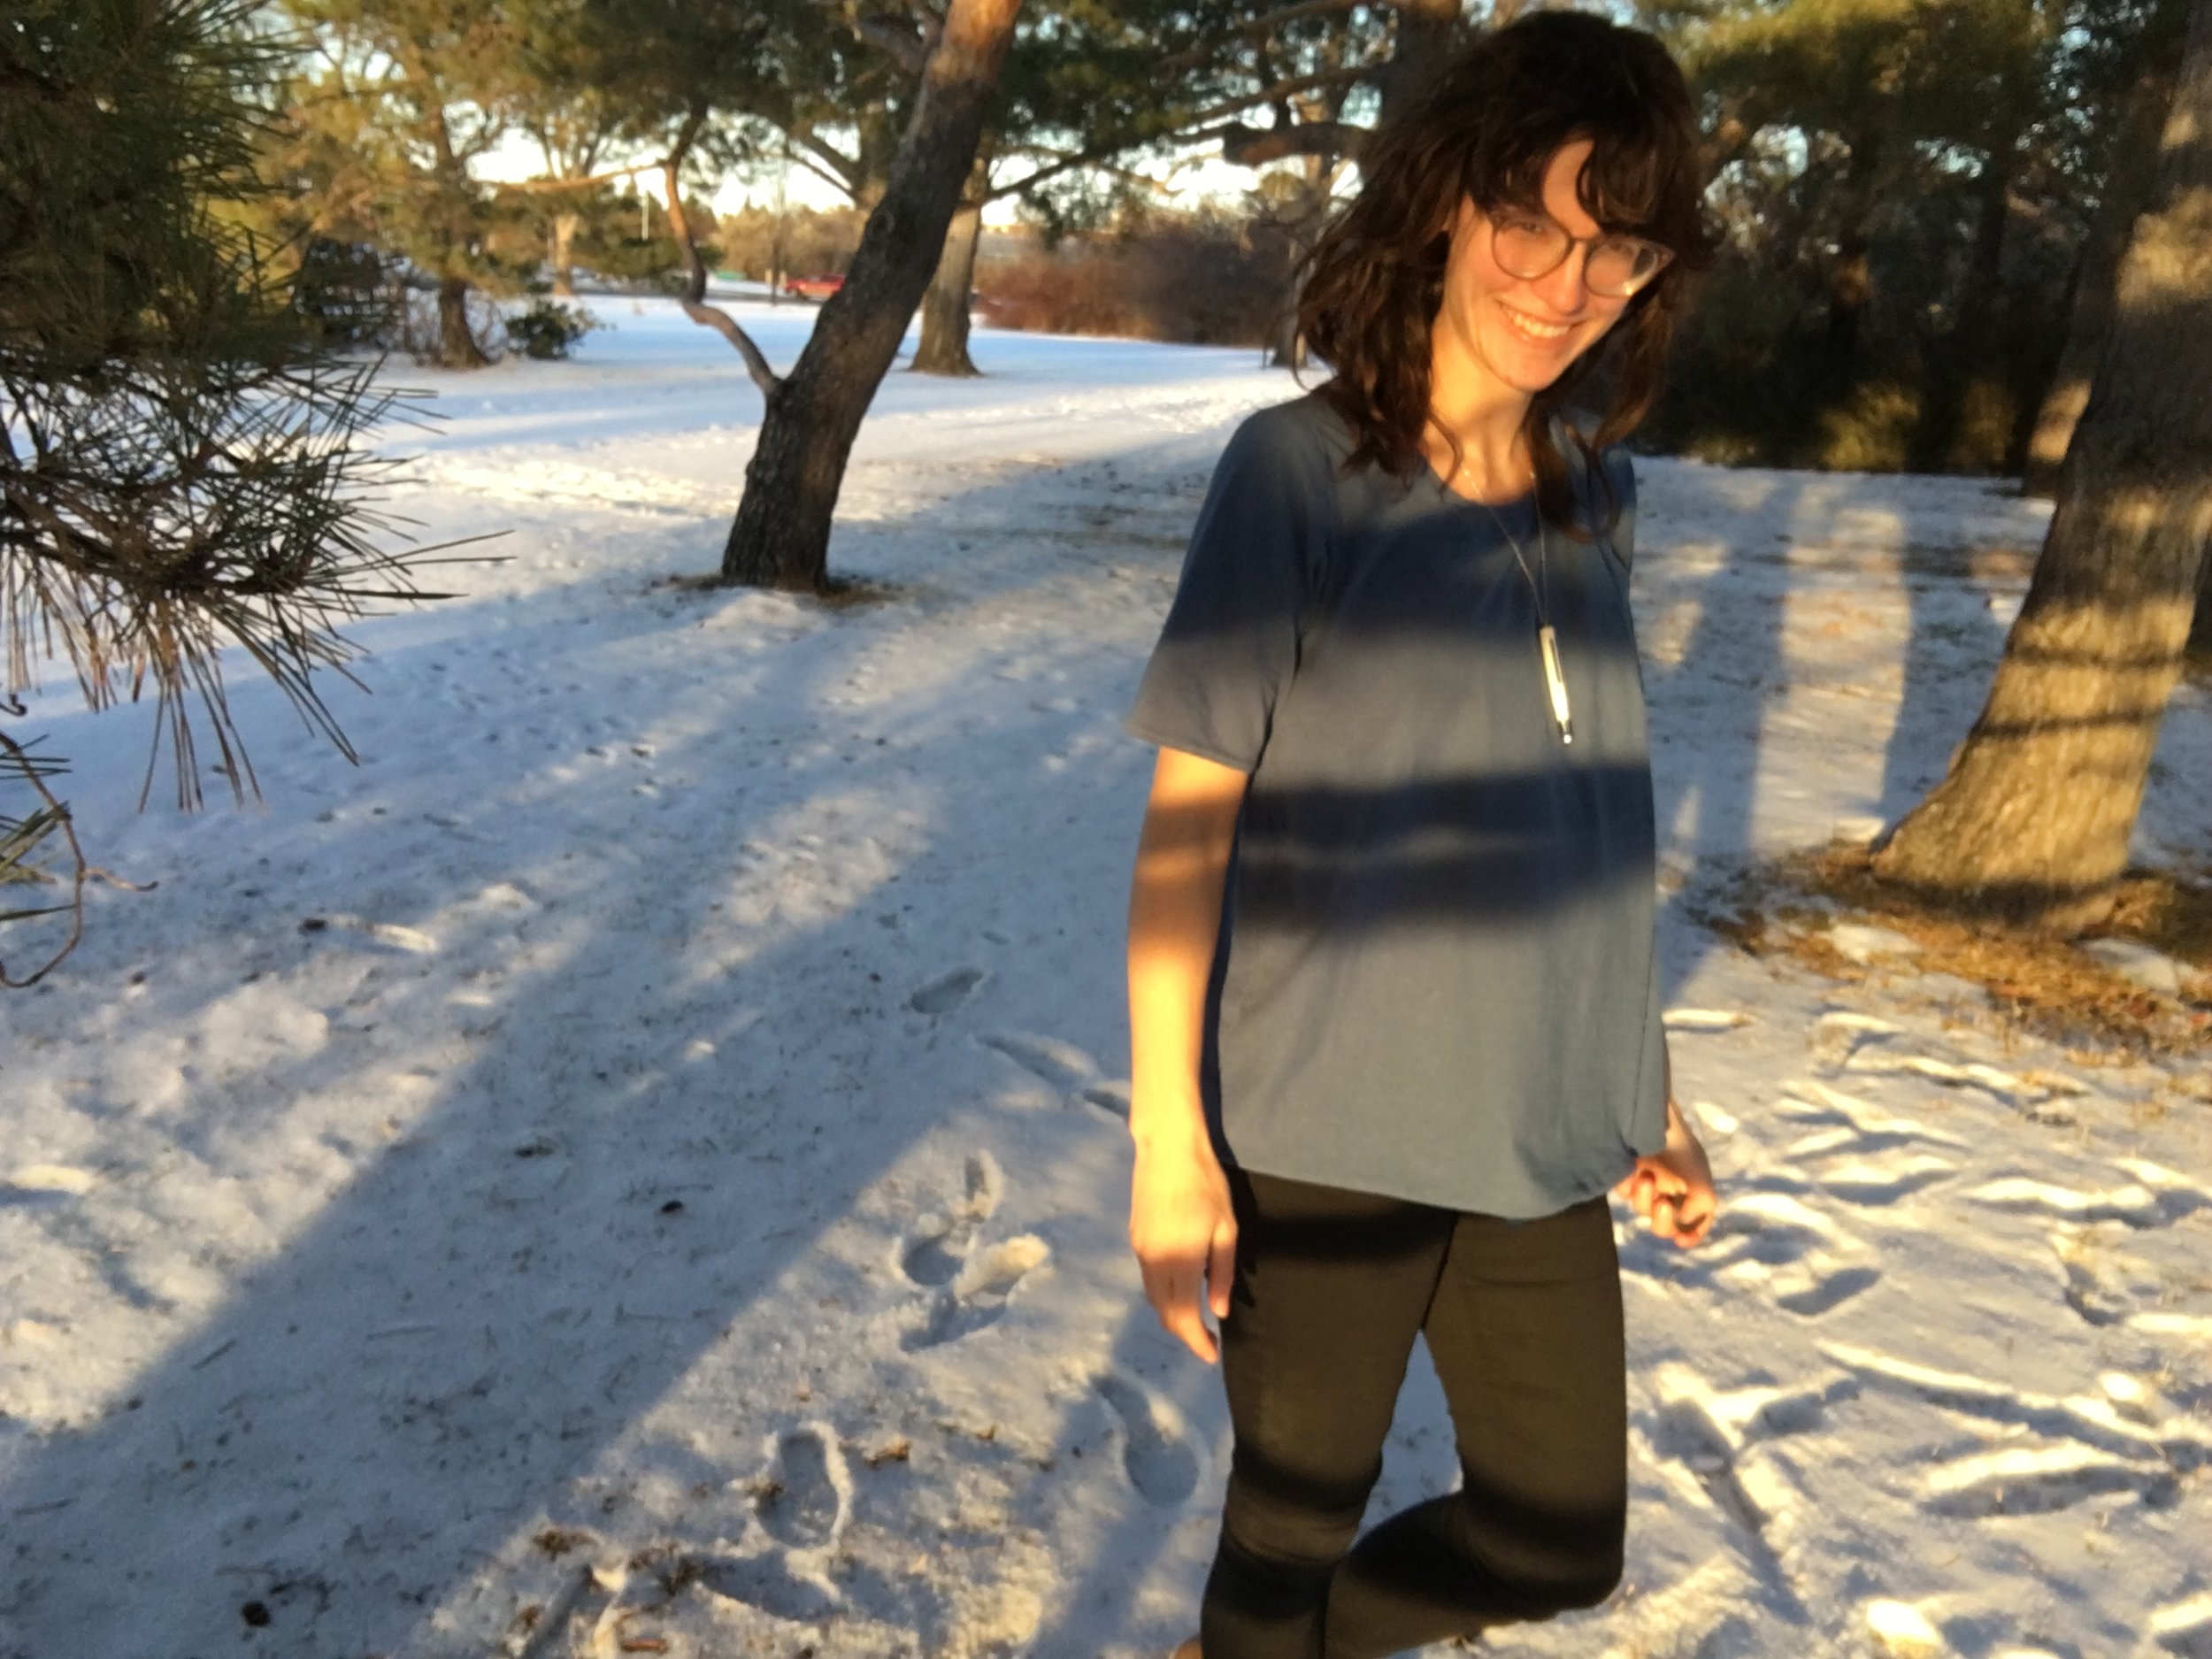
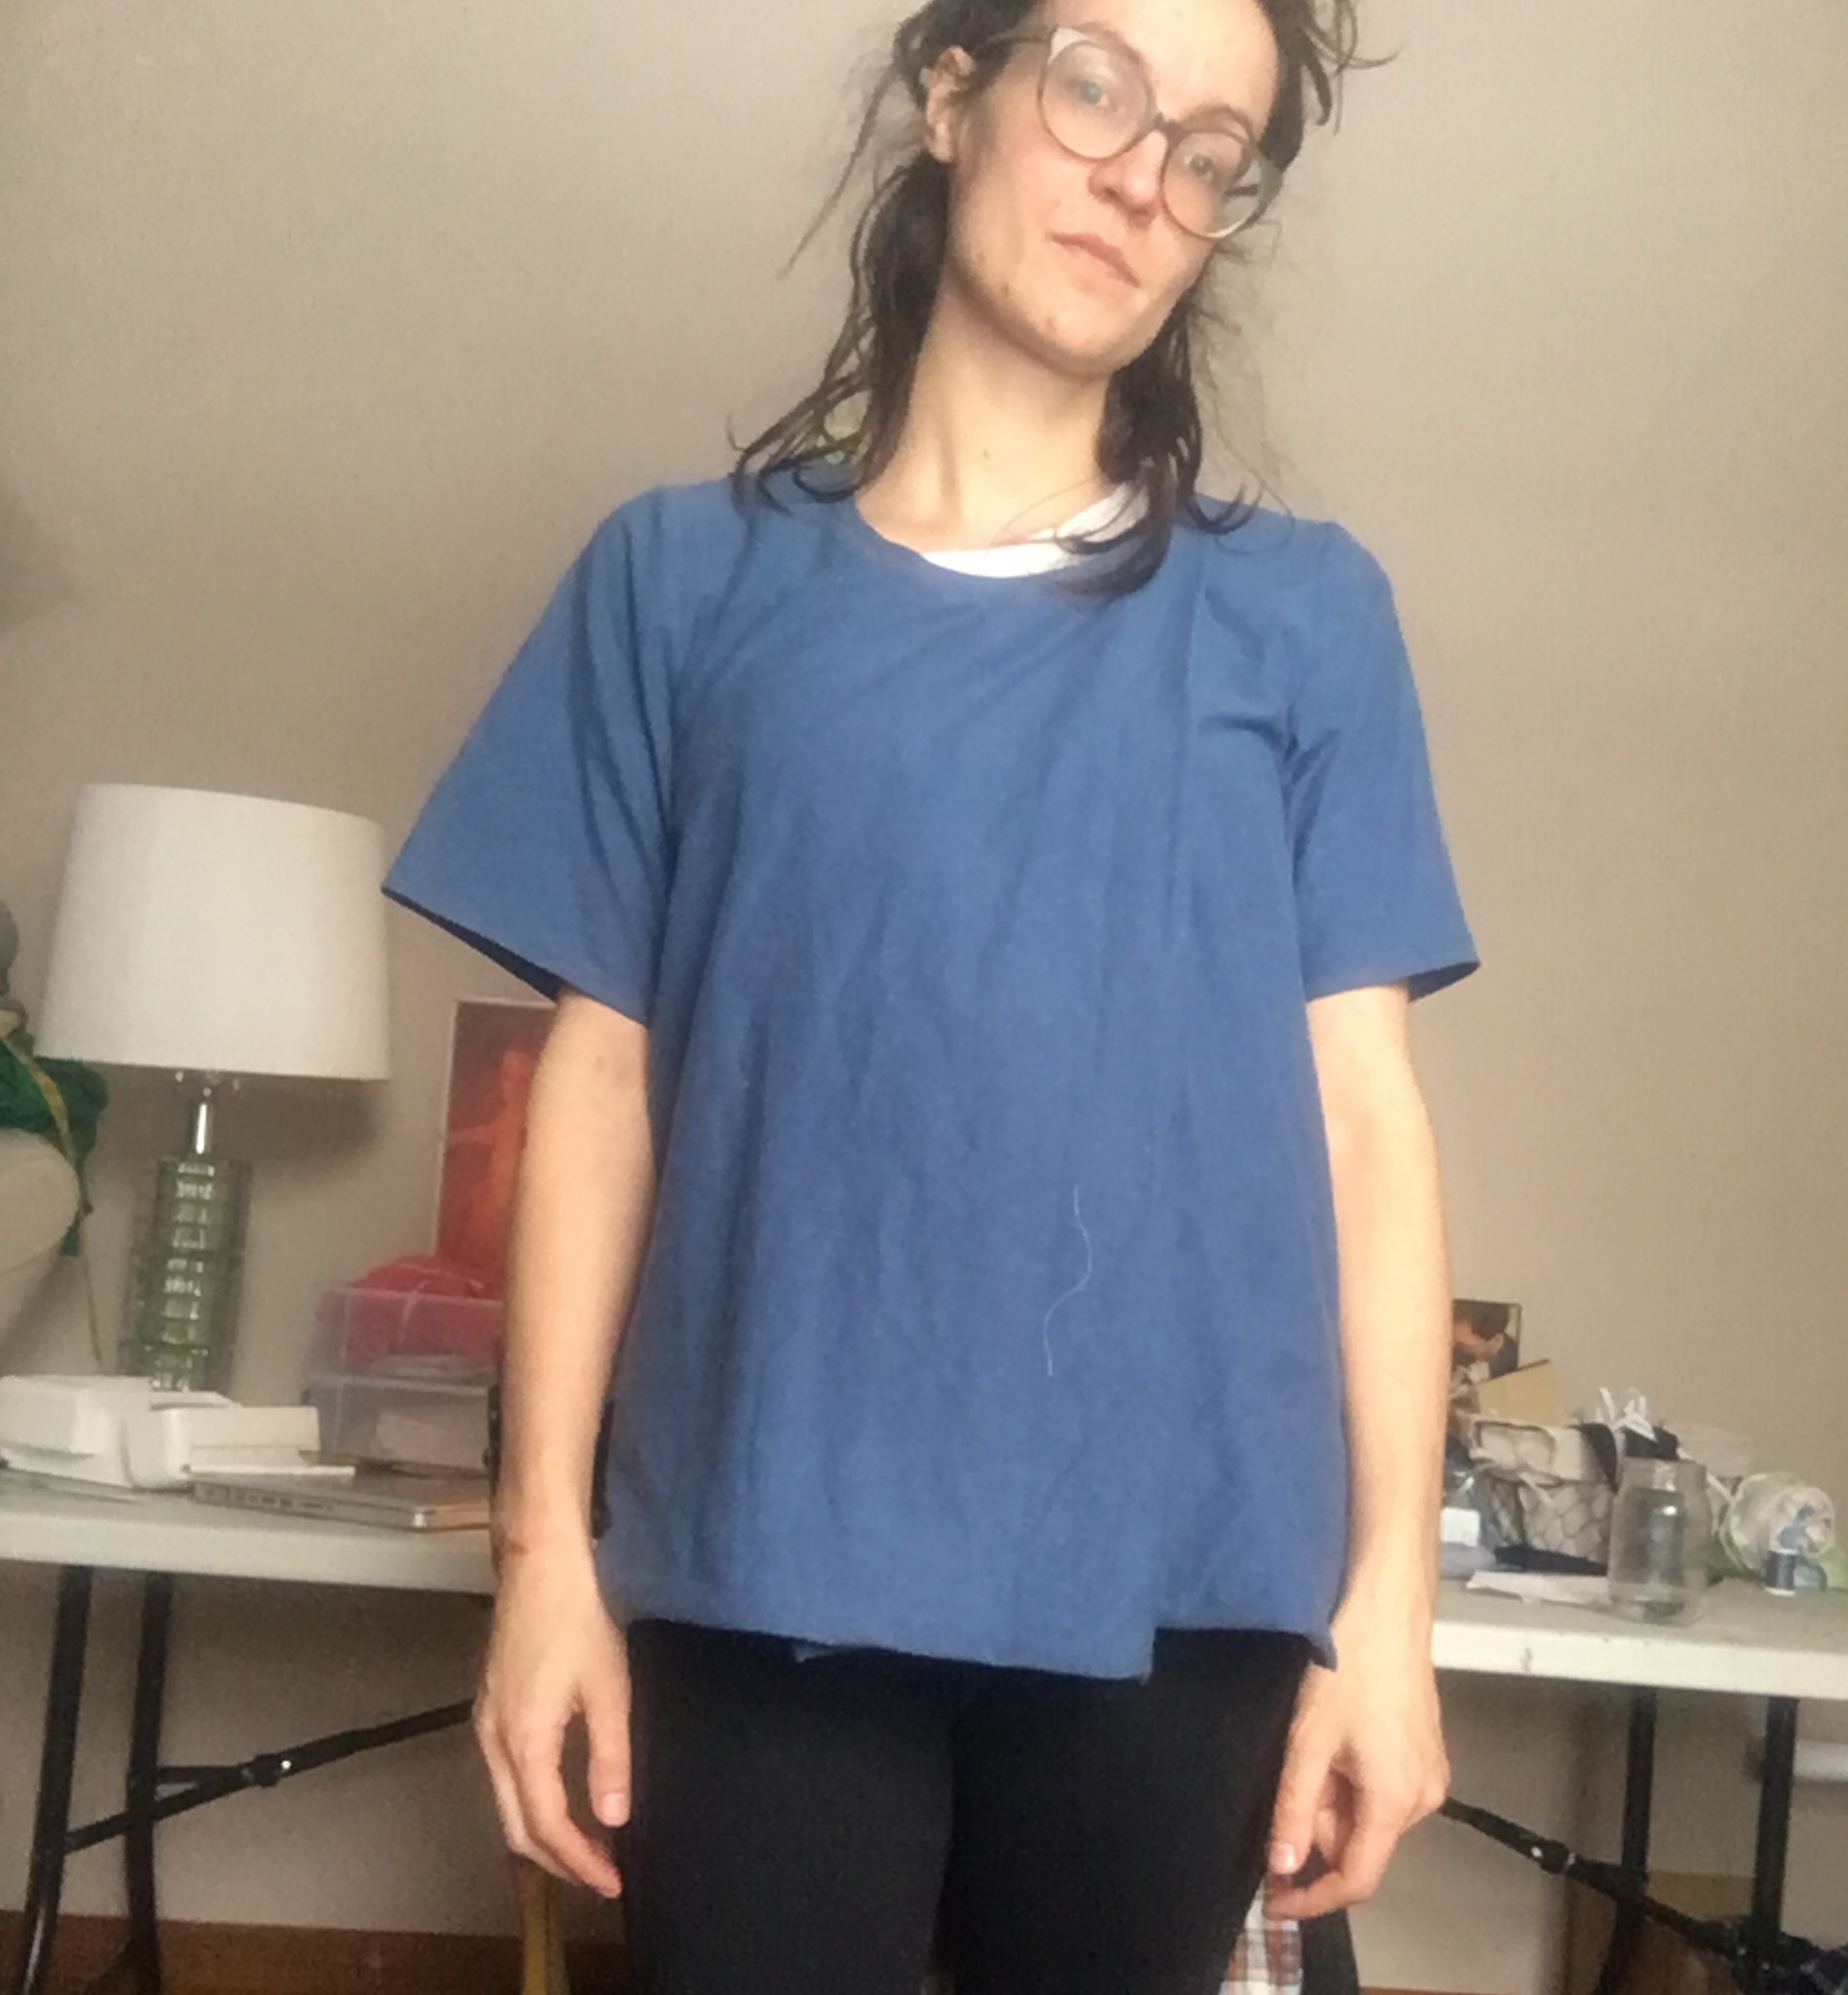
Another side effect: this Anneli is a lot more waterfall-y than the first. I think this owes to a bit of pulling due to the aforementioned bulk. It super works for me although who knows if I could even replicate it if I tried!
The only thing is, it had a bit of a scrubs vibe to it, what with the loose shape and shade of blue. Not my jam. so I ended up hacking the sleeves after all! I pinched out a bunch of width from the sleeves and the body, leaving me with a bit of a trimmer silhouette, which I think did the trick. Although I’m still considering adding a little stripe to the bottom of the sleeve or some such for just a bit more visual interest/distancing from scrubs.
Pattern: Anneli Double Front Tee / hacked for slimmer sleeves and the double fronts converted to a pleat with slit.
Size: 40 - I measure 96 cm for bust; am normally 77.5 cm in the waist; am currently a C-cup. Belly is 97 cm in these pictures @ 24 weeks.
Fabric: Denim colour hemp & organic cotton jersey from Blackbird
If there is a next time: Move the slit to the centre front of “behind” front panel, CHECK YOUR SEAM ALLOWANCES! (especially if using hacked pieces and as-drafted ones…) and add another inch of length — maybe to front, or maybe all the way around - to allow for hemming


