Zero waste trenchcoat
I worked on this jacket in between various stages of my last few projects (mostly Halloween costumes for my son and I, honestly), cutting it out along with one, then sewing it on downtime between various steps. It was nice to just have something to pick up and put down as other things went along.
I’ve been reading a lot about zero waste patterns of late, and have had my eye on Milan AV-JC patterns for longer. I’m pretty sure I’ve read everything hidden away on that site - I am particularly intrigued by Mylene’s multi-garment zero-waste designs, which were available hidden away on her site until recently (and may still be! There’s been a redesign and I’m finding them hard to track down now).

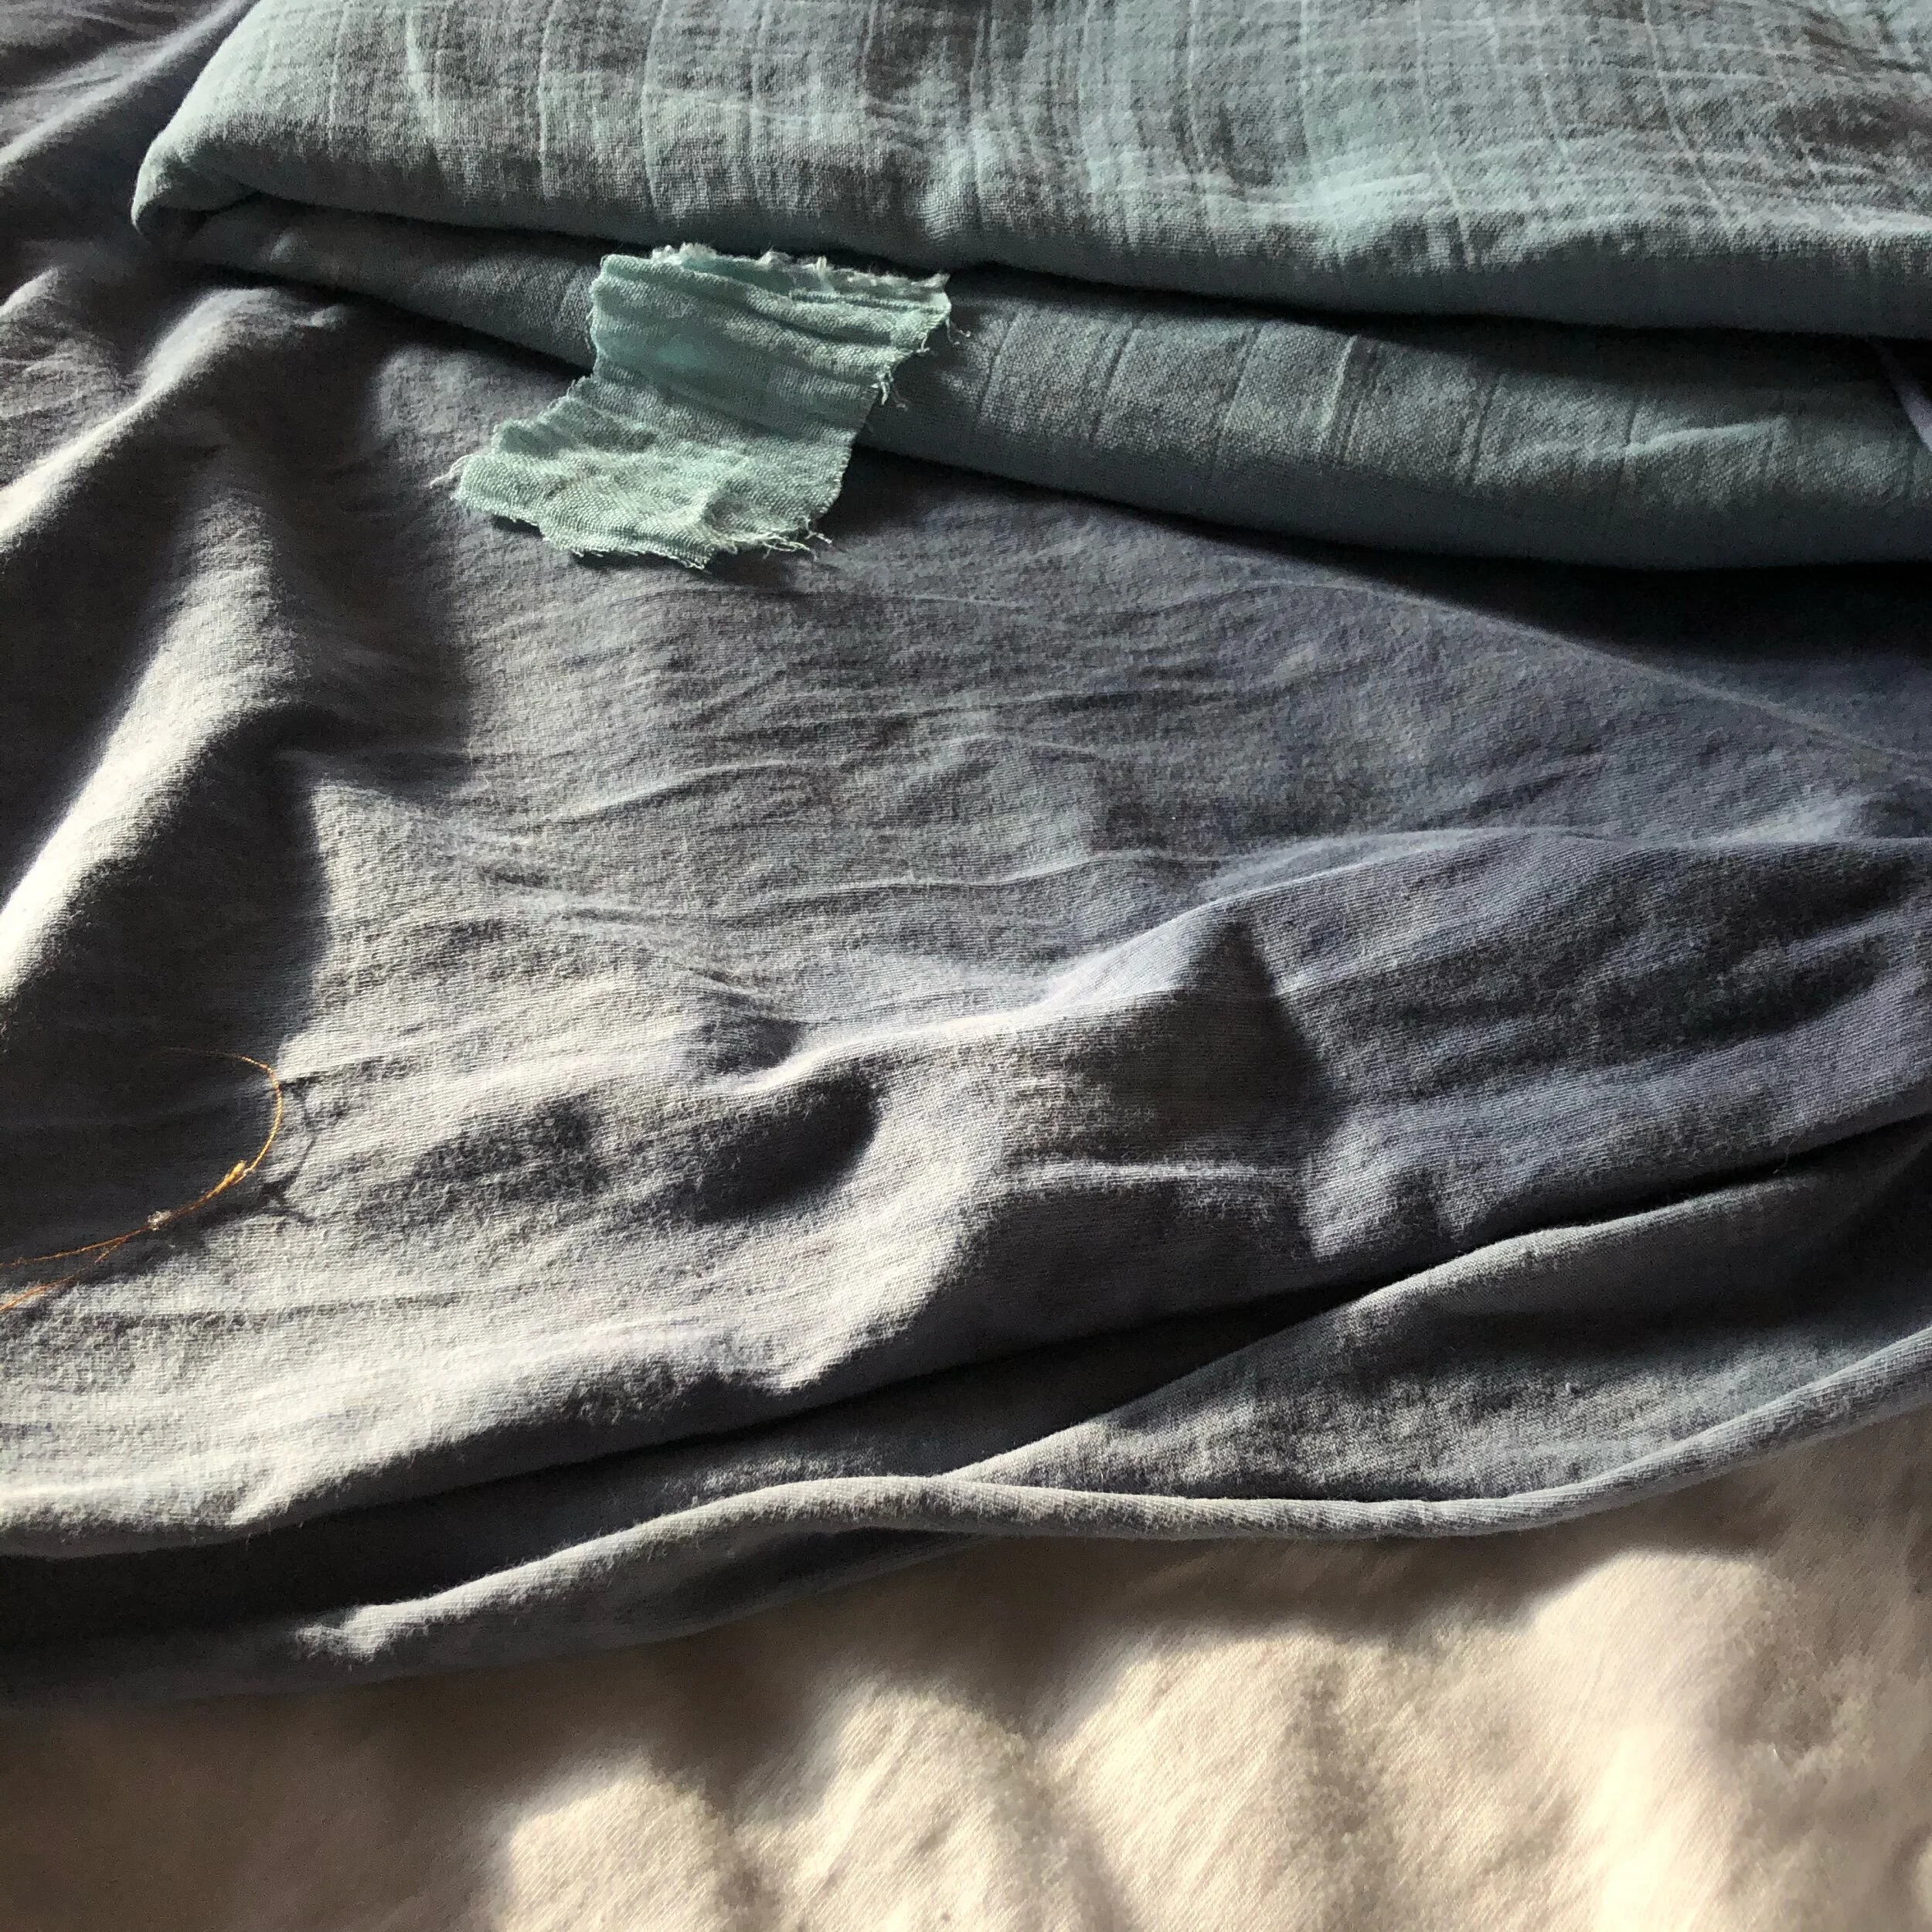
This is, though, a project driven by the fabric. This water/wind-proof fabric needed to be a jacket, but I don’t really feel like making a sporty sensible one. It was extremely inexpensive, coming from the fabric sale of a wild home of a woman whose fabric collection filled (and by filled I mean floor to ceiling, minimal walking room) a basement, and a shed, and, apparently, another shed off the property. Her son and husband were selling all the fabric off at, at most, $2 an armspan, measured generously. And I was pretty careful not to buy up more than was “reasonable,” not wanting to gain a fabric collection of anywhere near this size.
I bought this though! And it is non-fray, a necessary quality for the Karma trench (which was designed for suede). Maybe with more structure than designed for, but I figured it would be a fun pairing and I could get a feel for the solutions a zero-waste approach creates.
The back and front are cut in one, no side seam. The spaces left for arm and neck holes become unusual belt loops and a garment tag "holder" on the interior. The foldy pockets are a function of using larger off-cuts up.
Cutting a zero-waste pattern up was real fun; I took a medium-used rotary cutter to both fabric and paper in one go. I extended certain places on the pattern to fully use the fabric width, as well.

The main considerations to deal with this fabric in construction were to avoid extra holes - like leather, holes are here to stay on the waterproof coating - by never ever unpicking or pinning, if at all possible, and that the waterproofing would be quite tricky to iron, and even when successfully ironed without getting goop on my iron (I don’t have a proper press cloth and hardly remember to use an improper one), the seams did not want to hold a press. So top-stitching became a BFF where flatness was necessary. Caveat though: top stitching just creates more holes!! So I skipped topstitching at construction seams, mostly, just did my best to press, and top stitched all the pieces that get added on, like the loops and the pockets.


Assembly was otherwise straightforward, but the instructions come in the form of a Youtube video, which is not at all up my alley. I enjoyed watching it (I relish most opportunities to think in French, so no subtitles), but I vastly prefer to do my learning with print and still images (or the occasional GIF, where the repetition of a short loop works for me), so I didn’t enjoy referring to it for instructions.

So mostly, I went with sewing-construction-logic as I went along, mostly ignoring the video (after having watched it through casually once).
The only time I got a surprise from not having paid much attention to the video was on inserting the sleeves, which need to be eased in. For whatever reason, I just assumed they wouldn’t be? I can’t really explain why I thought that, except for maybe the quality of my fabric not being easing-friendly. Which. Is not a quality of the pattern, so, wishful thinking?
Annnnyway I started inserting it at one notch, went round the bottom and to the next notch, and then realized easing would have to happen. And a usual two-rows-of-stitching then gathering was not going to happen, as the thread would just catch on the waterproof coating. So. I was stumped.
Until I remembered reading Kat of Kat Makes had made a glorious yellow raincoat out of a much more unwieldy fabric, and that she must have had to ease those sleeves in too! And indeed she had, and indeed she had the right tip for me: using paper clips to distribute the ease and pin the fabric pieces together without leaving any awful holes in the sleeve. It also turned out that halfway sewing the sleeve before doing the paperclipping made the easing easier, so I did the same for the second sleeve.


For the belt, whose length and width was determined by the garment size and fabric width, I wanted to have it folded in thirds as a self-interfacing. But since pressing was not going to help, and paper clipping a piece this long just became a mess quickly, I eyeballed and stitched the shape down, then added additional lines of quilting the whole way. Which worked out looking so cool to me.
I didn’t follow pattern markings for the belt loops and pockets, so the pockets are TOO LOW. Oopsie. I totally just thought “place em where you need em” and then screwed that up. One is continually re-learning!
I ended up trimming a couple of the seams that are sewed at larger-than standard seam allowances, and used a couple of those pieces to cover the shoulder seam at neckline, since I didn’t want to leave that spot without support and there is no collar piece. I also used a couple snips off the belt to make little internal ties, since I don’t liek to rely on just a belt. Resulting off-cuts due to trimming led to 1.5 inches square of waste.

Though the no-collar means that the jacket won’t be totally waterproof anyway, I picked up some tent seam sealant and treated the seams as I went along, so if the collars are tucked up it will in fact be waterproof. Maybe I could add a snap so that this is easier to do in a pinch? Not that the main purpose of the thing is particularly functional.

The sleeves also present a problem in this direction, as they are extremely long. In promo photos, they are mostly worn cuffed, which looks very cute, but again with my fabric choice, cuffs reveal the non-waterproof inner. I’ve also considered folding the sleeve up, creating a visual cuff that keeps the waterproof side out rather than potentially wicking wetness in, but I’m tentative to permanently cuff them in any case, because those puncture marks mean it can’t be undone.
Oh! And the little shoulder epaulets are tacked down with bright neon yellow buttons I scavenged off an old, torn, neon yellow button down. I was gonna go for big black buttons, but nothing seemed right in my button jar.
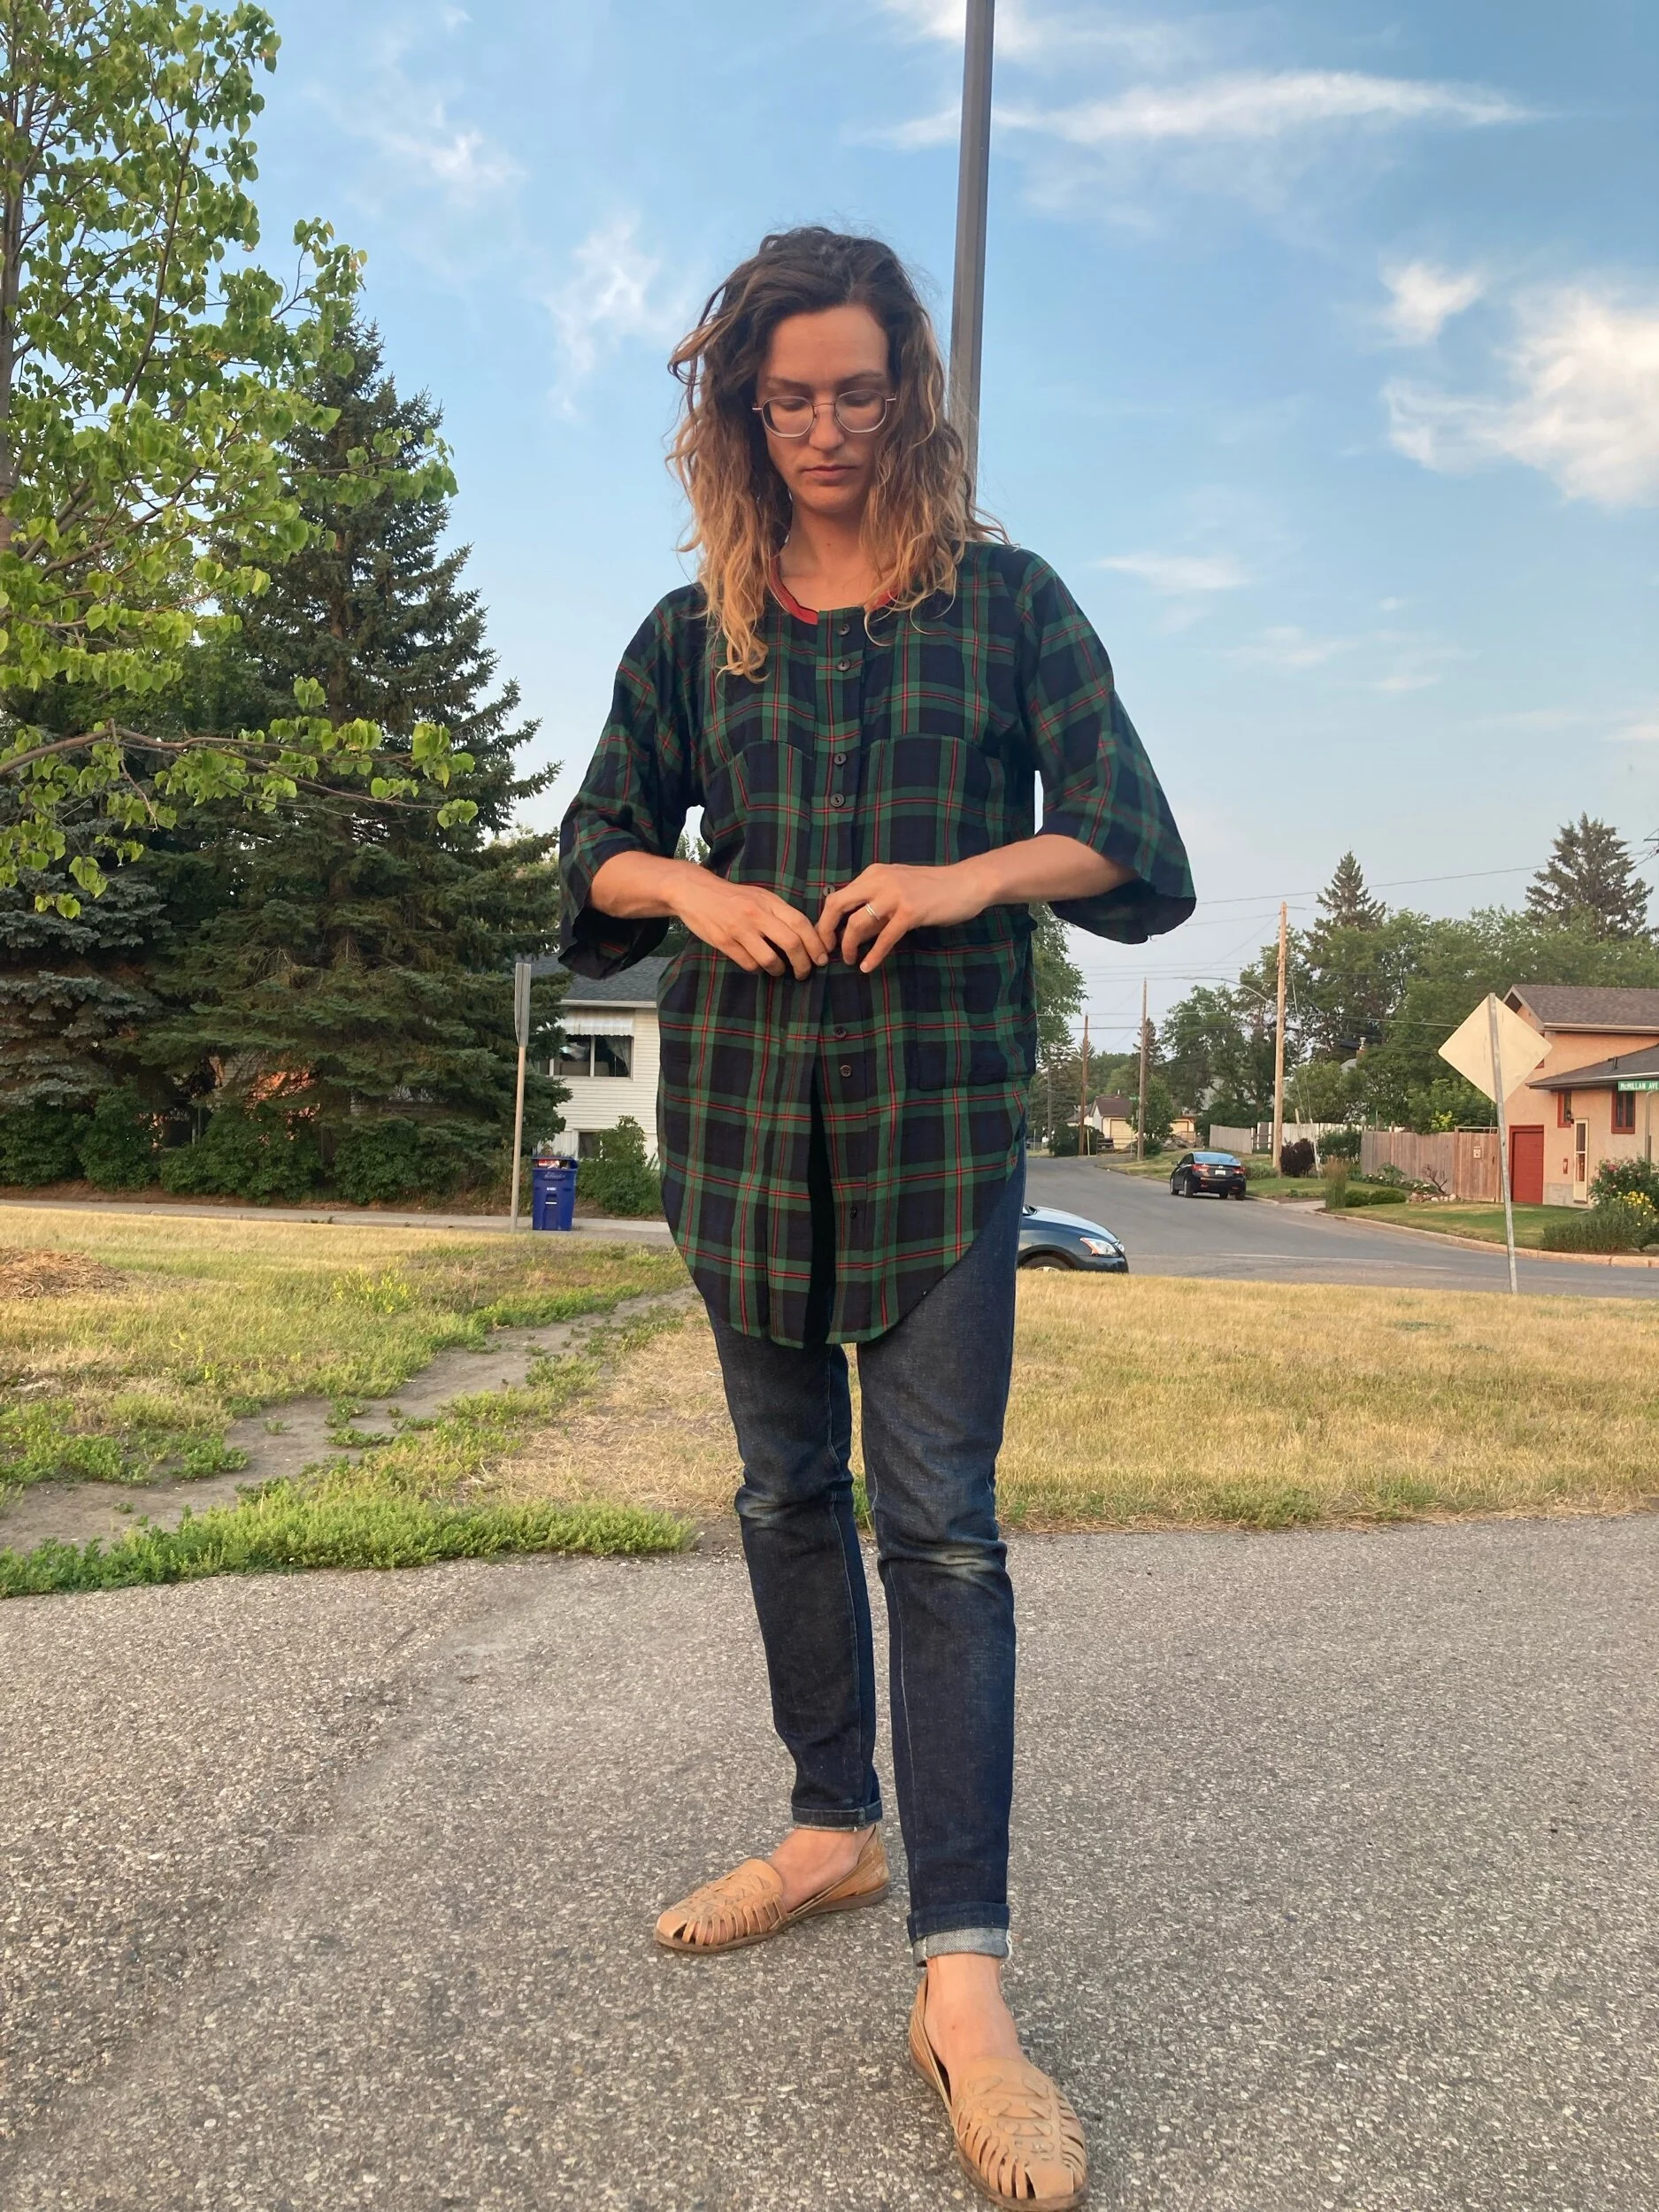
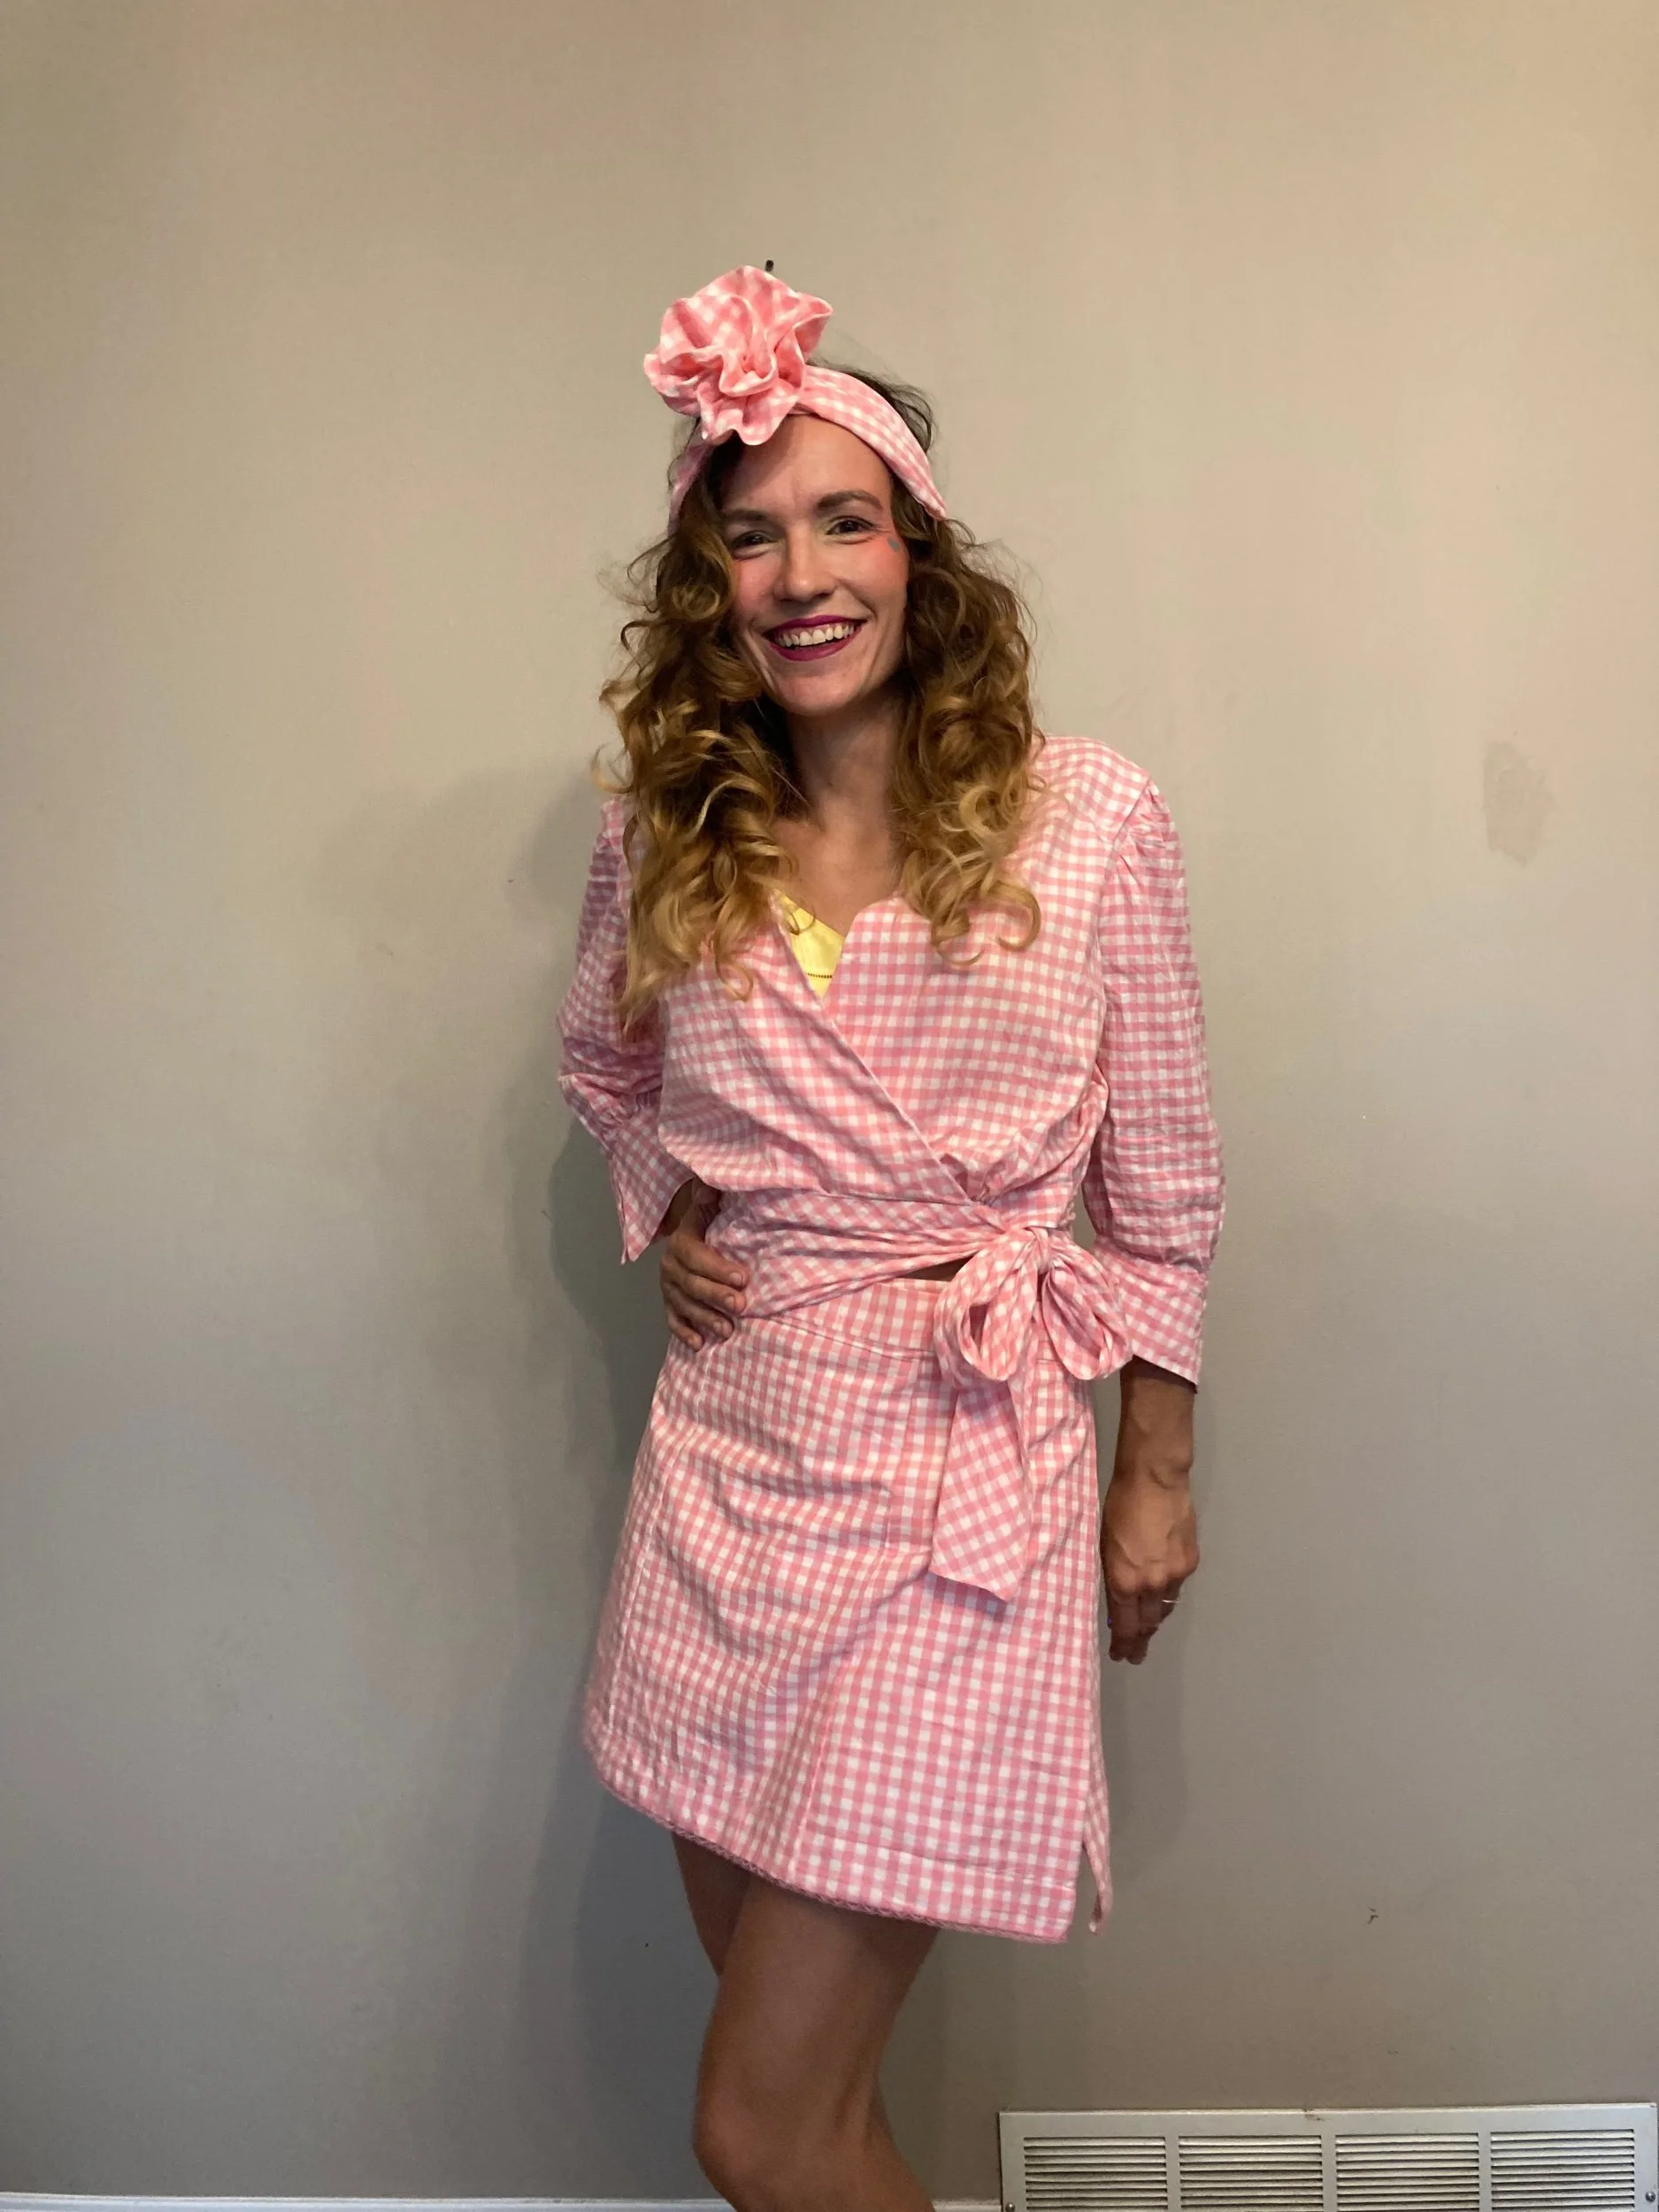
The overall look is a LOOK. And I already know someone who looks better in it than me. But I am so glad I went through with this experiment, and can’t wait to do a bit more zero waste exploration.
Pattern: Karma Trench by Milan AV-JC
Size: T40
Measurements: B36, W30, H38.5 (inches) 5’7”
Fabric: Waterproof/windproof double layer from local sale
Next time: Love the concept of using paper clips as pins!! Need to test pocket placement for real before committing on somehting like this. Double sided tape, perhaps? More zero waste experiments!